


View on Amazon
Product description
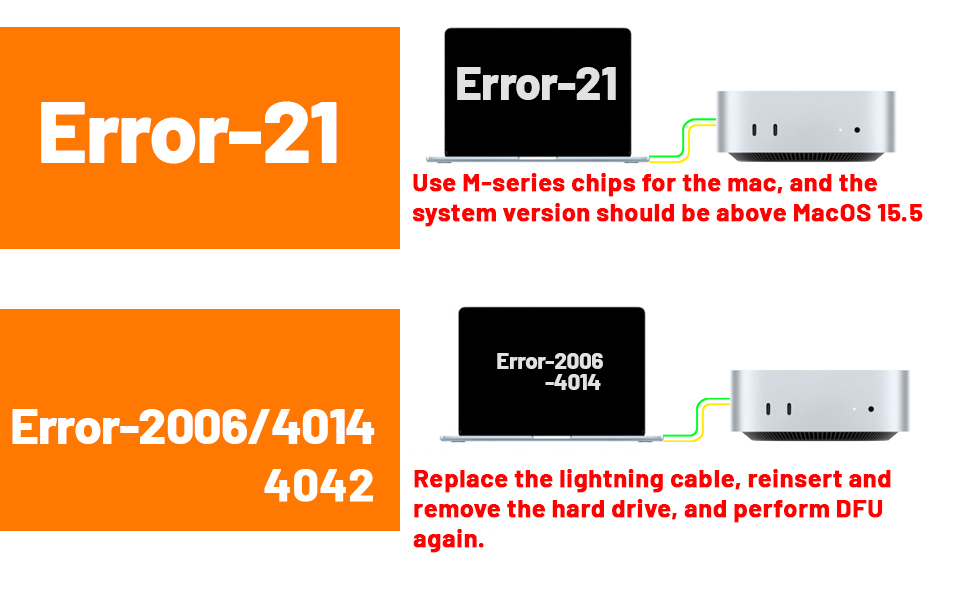
NOTE CODE

Preparation
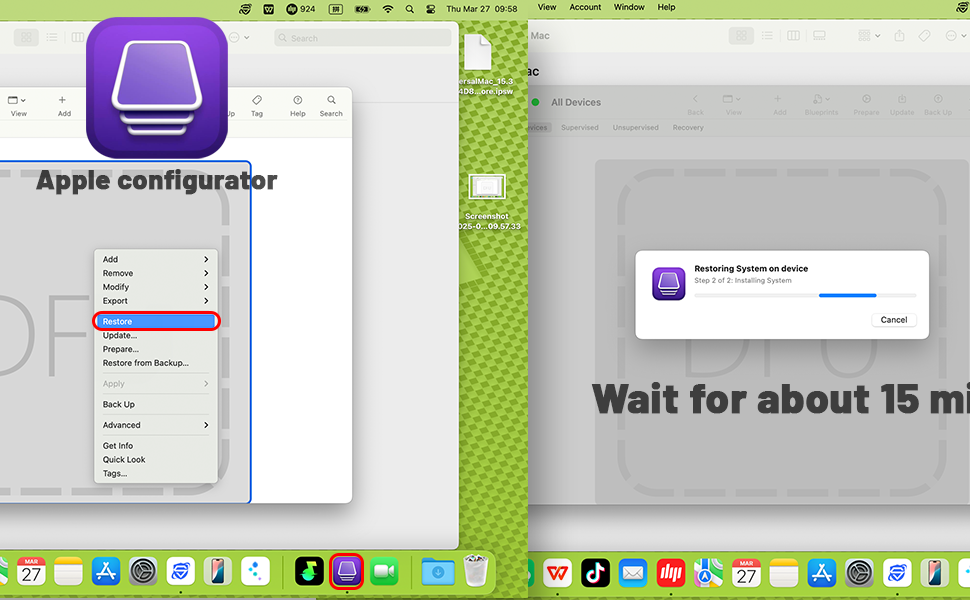
Ensure that you have a Mac computer running the latest version of macOS that supports Apple Configurator 2, and the latest version of Apple Configurator 2 has been installed.Prepare a supported USB – C to USB – C charging cable or a USB – A to USB – C connection cable. The cable should support both power and data transfer. Thunderbolt 3 cables are not supported.
Connection and Setup
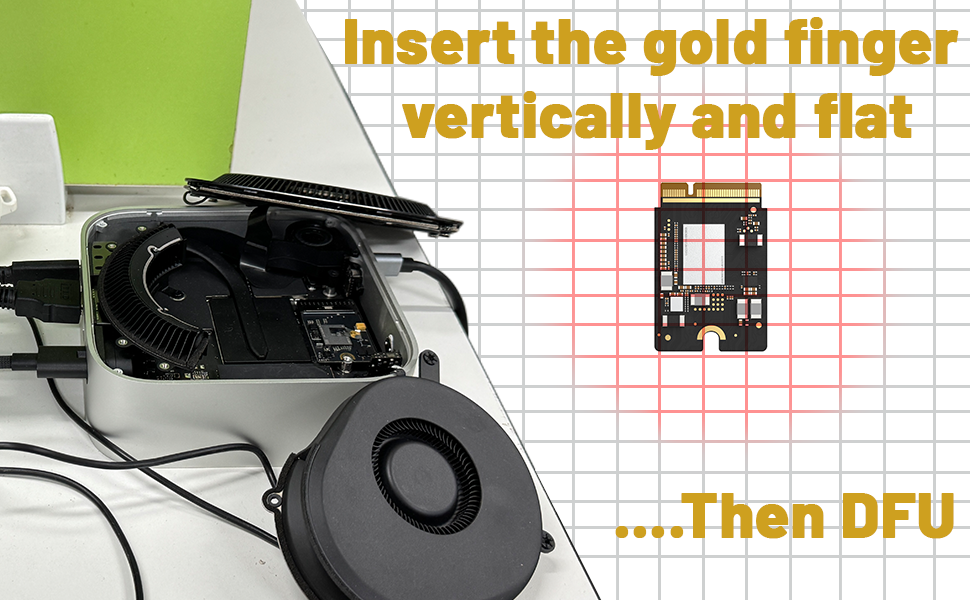
Connect the Mac mini M4 to the Mac with Apple Configurator 2 installed using the prepared USB – C cable. For the Mac mini M4, insert the cable into the Thunderbolt port closest to the HDMI port.Disconnect the power of the Mac mini M4 and wait for at least 10 seconds.Press and hold the power button of the Mac mini M4 while connecting it to the power source. Continue to hold the power button for about 3 seconds and then release it. There will be no screen activity on the Mac mini M4 at this time.At this moment, the indicator light of the Mac mini is blinking orange.
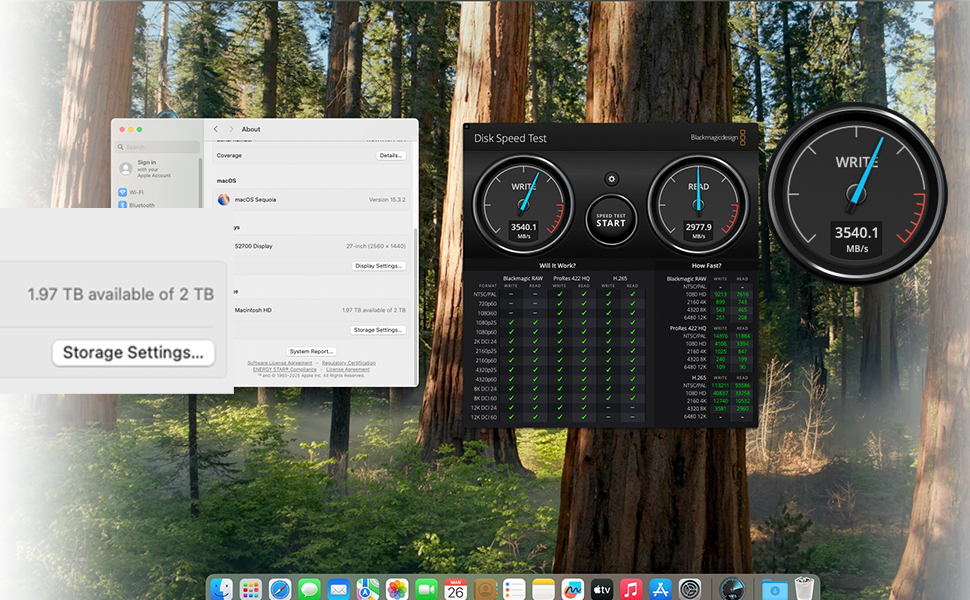
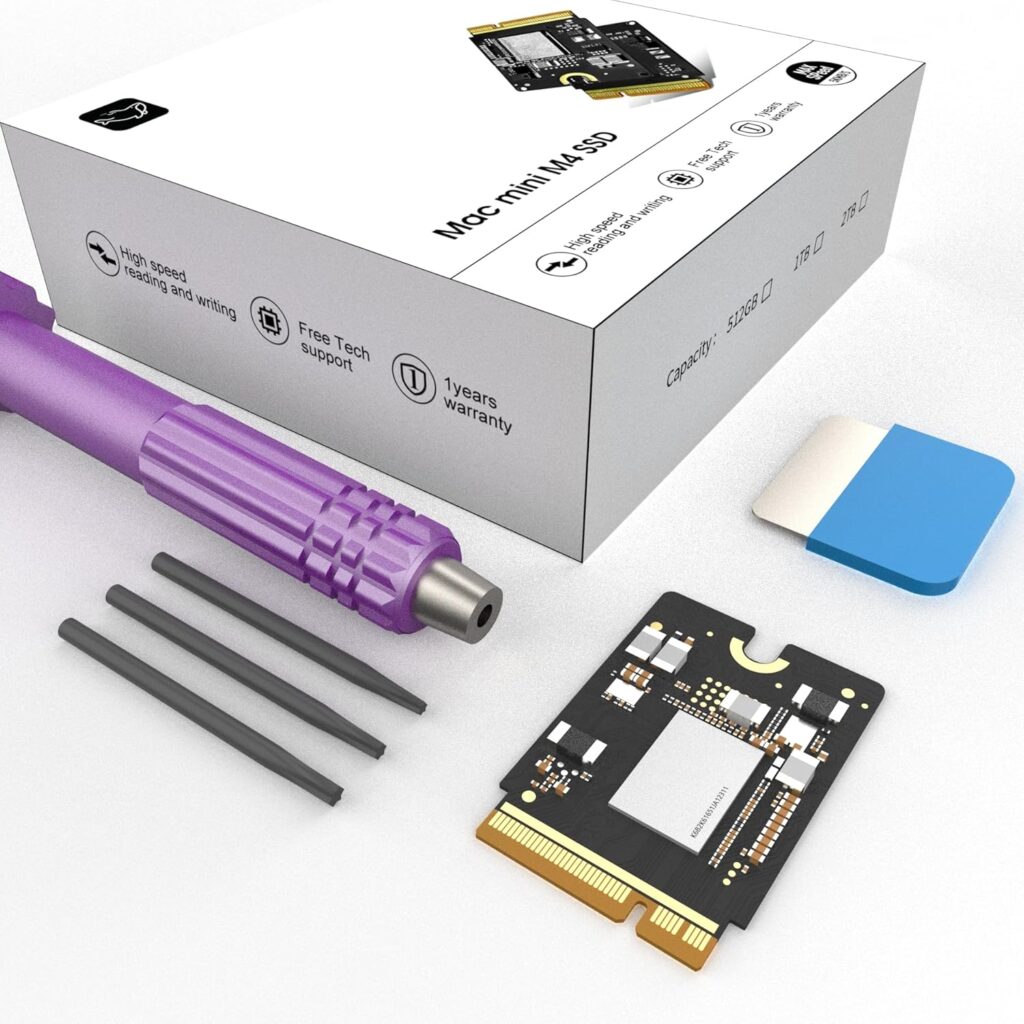
Storage Expansion:Engineered exclusively for Mac Mini M4, this SSD quadruples your storage capacity to effortlessly house large media libraries, professional-grade applications
High-Speed Performance: It’s read/write speeds up to 3300 MB/s,enjoy lag-free multitasking for creative workflows.
Precision-Engineered Compatibility:Featuring a proprietary M4 NVMe form factor, perfect compatibility like original equipment
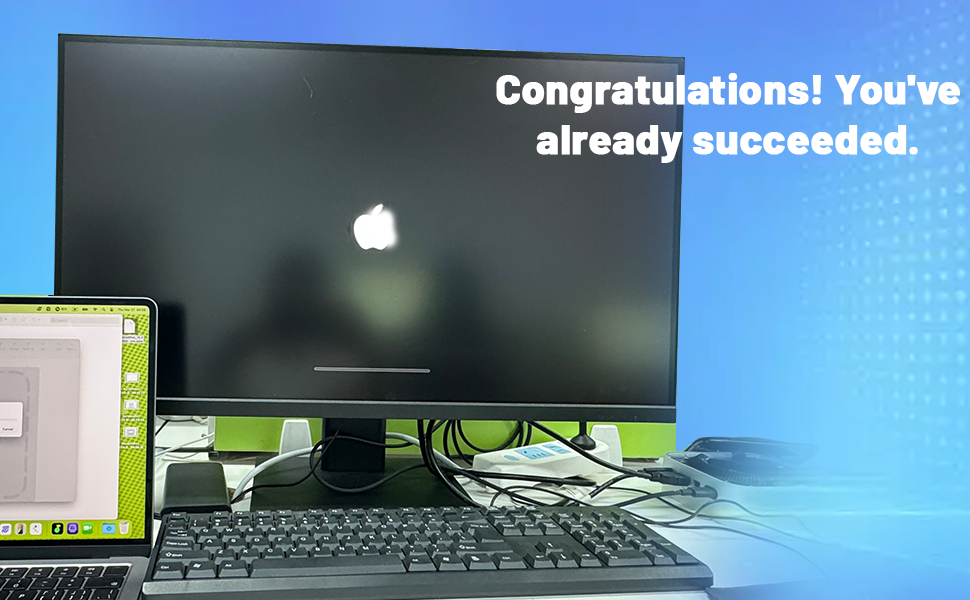
Effortless Expansion: Engineered specifically for Mac Mini M4, guaranteeing plug-and-play ,operation without compatibility concerns.
Proven Reliability: Rigorously tested for 30 days to ensure unwavering performance and sustained durability for both professional workloads and daily personal tasks.